Walkthrough:
1
Upload a document
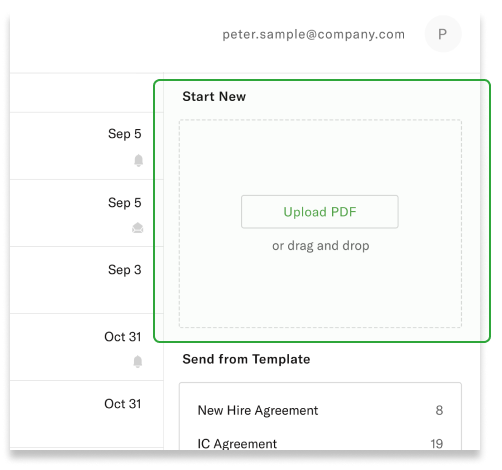
On the dashboard, upload a PDF by selecting the file or simply drag and drop the file onto the Upload panel.
2
Add signer info
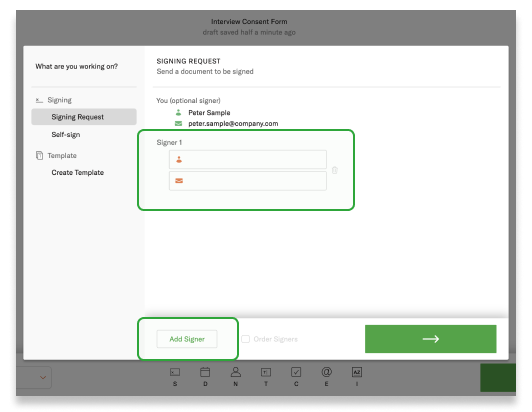
Add the legal name and email address of the signer. The signer will be required to access the signing link through the email indicated here. If you have more than one signer, you can enforce a signing order by checking the “Order Signers” box next to the “Add Signer” button. When done, click the green arrow button in the bottom-right corner.
3
Add fields to the document
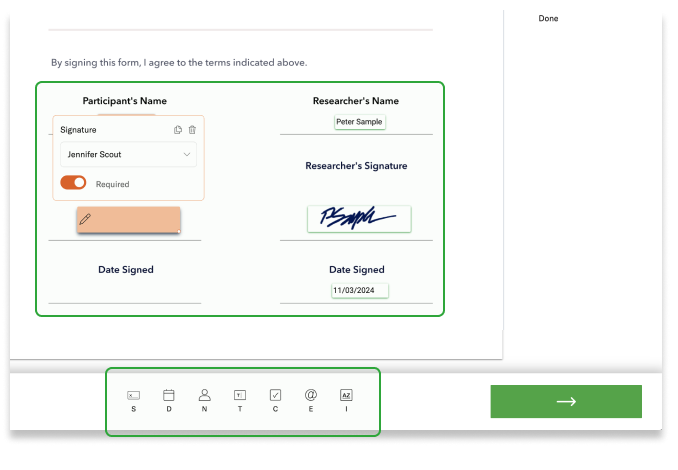
Add signatures, dates, names, text, checkboxes, email addresses, and initials fields and select which signer is meant to fill them. When done, click the green arrow button in the bottom-right corner.
4
Fill out email details
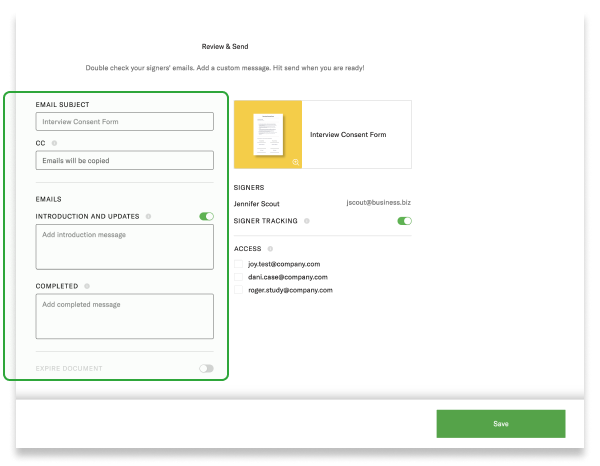
Specify the email subject, add CC email addresses for those who should get a copy of the completed document, and write custom email copy for the intro and final emails. You can also add an expiry date, after which the document will no longer be available for signature and will move to a “voided” status. When done, click the green “Send” button in the bottom-right corner.