Walkthrough:
1
Access Branding in Settings

You can get to the Branding section of your settings through the lefthand panel in the dashboard. Either click directly on Branding or click on Settings and scroll down to the Branding section *.
*Branding color and logo is available in Business and Team plans.
2
Upload Logo and Change Brand Color
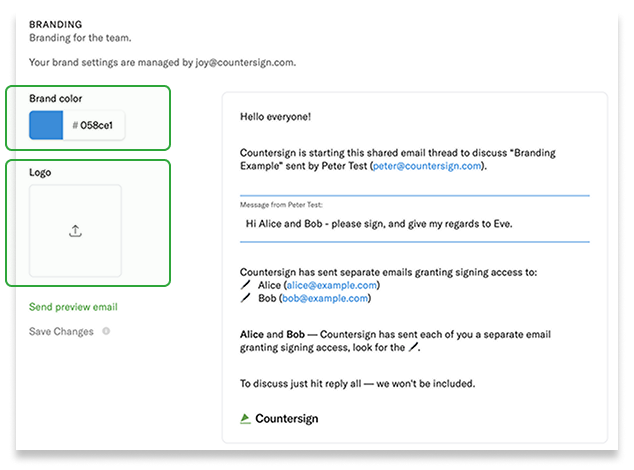
Change your brand color by clicking the color swatch. You can use the color selector or input RGB, HSL or Hex values to match your brand color.
To apply your brand logo, upload your logo as a JPEG, GIF or PNG.
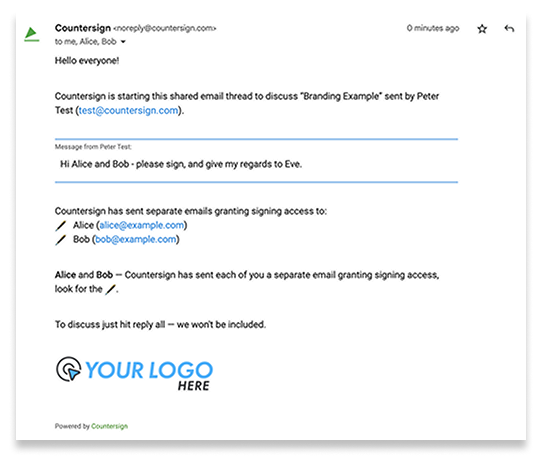
On the right, you can preview what your color and logo would look like in an example email. Once you’re happy with your choices, be sure to click “Save Changes”.
3
All Done!
Now that your brand color and logo are set, be sure to take customization to the max with custom copy for every document you send. In the last step before sending a document, you will always have the option to add custom messaging so it sounds exactly how you want.